Oi. It’s been a while since I’ve had the motivation/inspiration/etc to create a blogpost! My life has been an erratic swirl as of late. I was laid off from my full-time nursing position, which was the little *bump* out of the nest I needed to really pursue a career change. Luckily, I had already been researching and networking before the layoff happened, so I was readily equipped to leave the nursing field I dislike so much and into another industry that better fits my personality!
I’m pleased to say that I’ll no longer be working as an RN, but I am now an Inside Sales Executive at a blossoming Tech company! I’m terrified and thrilled as to where this door will lead me, but I’m going to work my little toosh off and be the best I can be in this new endeavor!
But! Back to the blogpost topic at hand.
This will be a little different, because I have to reveal aspects of this project in increments so I do not ruin the surprise for the Bride-to-be! So, I’m throwing a Pure Romance/Lingerie Shower for my good friend here in the next couple of weeks. Like I said, I have to share the details as things occur so I don’t ruin any surprises for her on the day of her party! I have a lot of fun ideas (thanks, Pinterest) and I can’t wait to put them in action for this lovely friend of mine.
The first reveal are the invites! I know this might not make some as excited as they have made me, but they truly were my creative babies and I put a helluva lot of work into them.
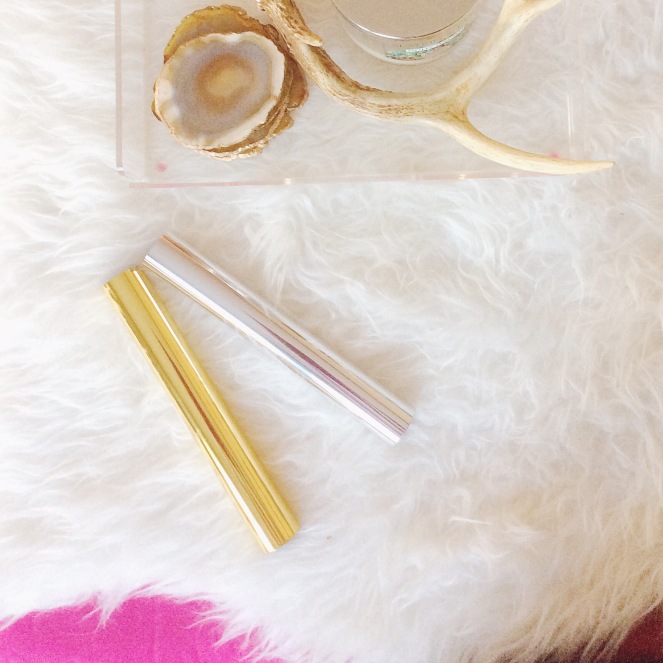
So, I had been trying to learn how to make foil print art for a while now. I finally found the right technique to achieve the results I wanted, so I went ahead and invested into some toner-fusion foil from buy101.com.
Then, I decided I wanted the invite to be square in format, just because it’s super trendy right now. (Thanks, Instagram.)
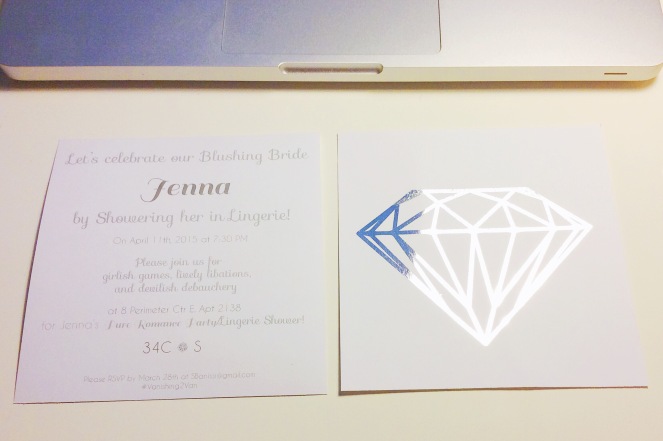
Even though I achieved the text format on Adobe Illustrator all on my own, I needed a little help on constructing the Diamond image I really wanted to use. So I solicited a help from another friend’s boyfriend. Thanks, Robby! This would not have been possible without your tutoring and help. He helped me with creating the image for the front of the invite.
I had to take into consideration formatting for being printed on a 5 x 7 piece of cardstock, and then I later had to trim them all down to 5 x 5.
So, creating foil print art is quite easy after you work out the kinks. First, you must print your image with toner, not ink. That means you must use a laser printer, not an inkjet printer. I just went and had mine printed at Office Depot. I also used Office Depot’s heavy duty laminator. So, in order to fuse the foil to the image, you must put the foil metallic side facing up on top of the image. Then you place both in a laminator protecting pouch and send it through the laminator without any actual laminate on the two items. I found out the hard way that at-home laminating systems usually do not get hot enough for this fusion process to occur. The settings I used at Office Depot were 300 degrees temperature and the slowest roller setting (1.)
After you send both items through the laminator, you must allow them to cool off fully before very slowly pulling the foil off the image. If you do it correctly you end up with a beautifully foiled piece of art! I may actually end up creating foil art and putting it on my etsy shop later!
But, without further adieu, here is the invite front and back–
I also researched the 5×5 sizing before committing, and I found that Ikea has a matted RIBBA frame that works perfectly for this size! So I created these invites with making them be a piece to add to a gallery wall in mind. That was my favorite aspect of these invitations.
Here’s mine framed and on display in my accessory nook.
But! Back to the final details of the invitations. Packaging!
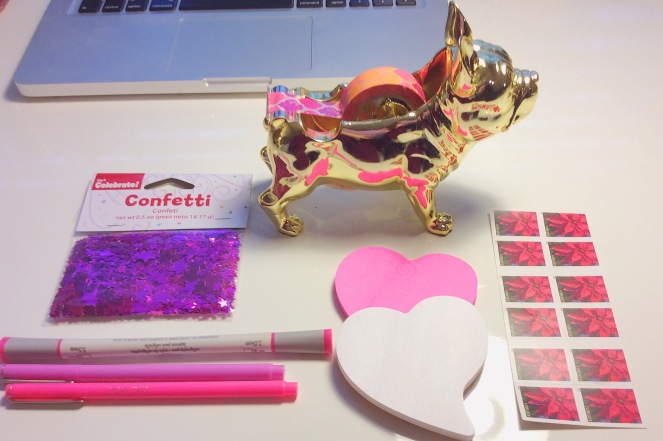
I used my LePen pens and my new calligraphy pen for the notes and addressing the envelopes. I didn’t realize until after I bought the “pretty pink flower stamps” that they were in fact, poinsettias. A little out of season. Whoops!
Last final touches– Washi tape to help seal the envelope, and pink star confetti on the inside. I’m sure the recipients loved that touch! Who doesn’t love snail mail the requires clean-up at the end?
Well, I hope you enjoyed Phase 1 of my Operation: Lingerie Shower! I can’t wait to reveal more after the event takes place in two weeks!
XoXo.


Nice foil, lady! I’m not even mad… I’m impressed
LikeLiked by 1 person